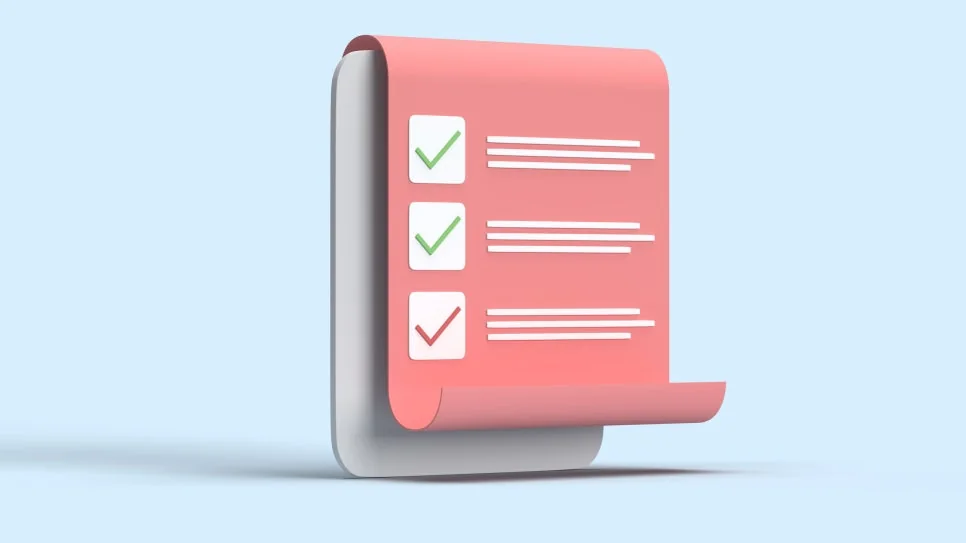
Remembering that a task took about two hours is not the same as measuring the actual time.
The same is true of photos. Without a clear before-and-after label, their meaning can be difficult to recover later.
Time and photos stored with the schedule show when the work began and the condition in which it ended.
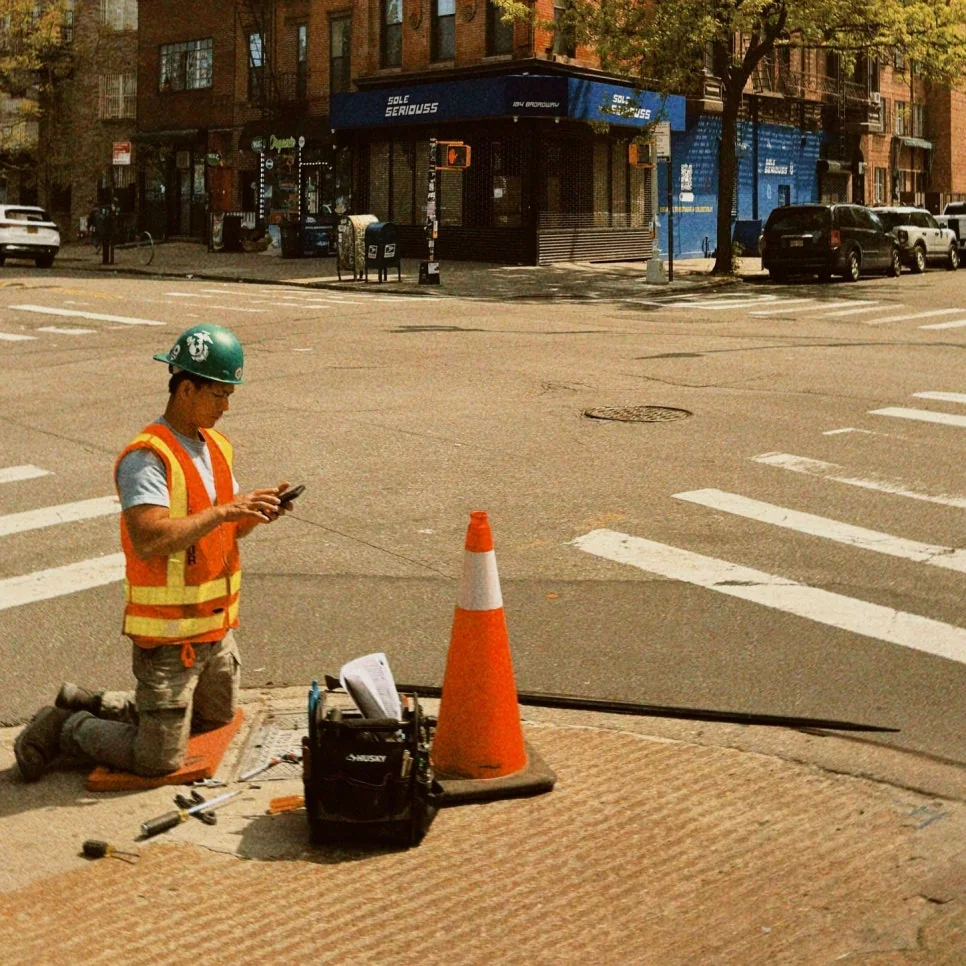
1. Confirm That the Work Form Uses Field Mode
Work timers and before/after photos do not automatically appear in all work schedules.
These tools are available on schedules created with work forms that include Field Service.
If the tools are missing, check the schedule's work form and its Field Service setting.
2. Start the Timer When the Work Begins
Start a timer on the task schedule details screen and stop when the task is finished.
The start time, end time and measurement time are recorded in the schedule.
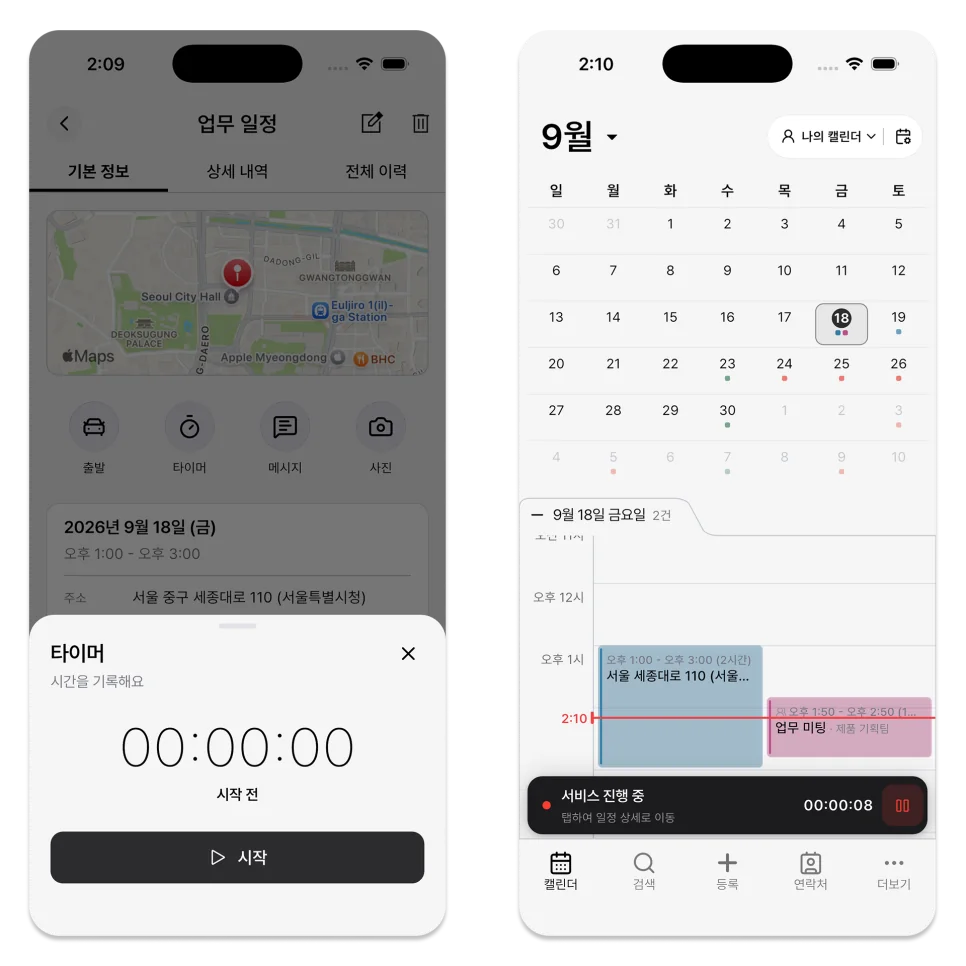
You can see ongoing timers by navigating to other screens in the app, but only one timer can be running at a time.
Before starting another task, make sure the previous timer has stopped.

3. The Start Location Does Not Track Your Route
If you allow location permission, you can leave the location where you started the timer on your schedule.
ILJI does not continuously track your route while you work.
If your job requires a starting location, check your device's location features and permissions when turning on the timer.
4. Separate Before and After Photos
In the photo area, choose Before or After, then take a photo or select one from the device.
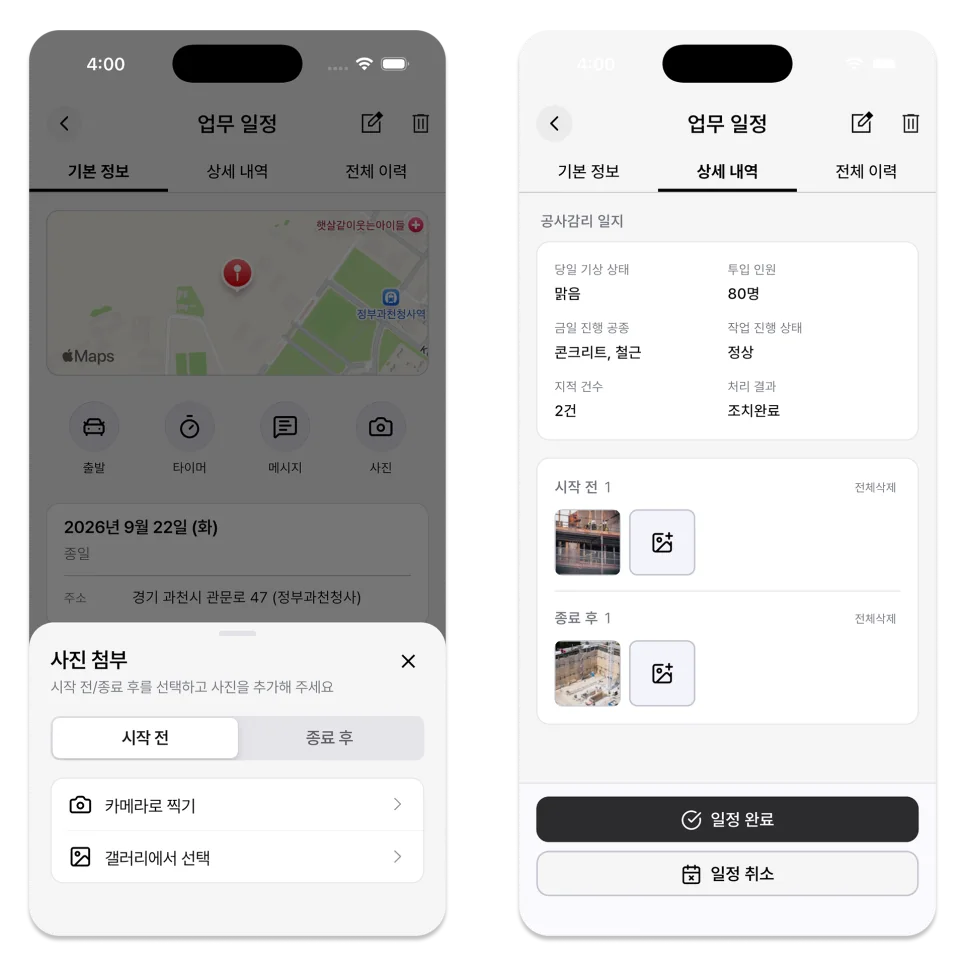
To create photos that are easy to compare, take photos from as similar positions and angles as possible.
Capture the overall condition separately from close-ups of details that need attention.
Avoid photographing personal information the work does not need, such as faces, license plates, or documents. If it appears, obscure it.

5. Confirm That Photos Finish Uploading
Photos will be uploaded to your schedule via the Internet.
Stay connected until the photos appear on the schedule. For multiple uploads, confirm that each image is under the correct Before or After section.
The attached photos do not replace the original for long-term storage. According to the official help, the retention period after upload is 90 days, so leave photos that need to be kept for a long time on the device or in a separate storage space.
Recording does not end when the timer stops.
Before completing the schedule, confirm that the measured time matches the work and the photos are in the correct section.
If you have an ILJI form that uses Field Service, set a standard for start and end times and before-and-after photos on your next job.